
Introduction
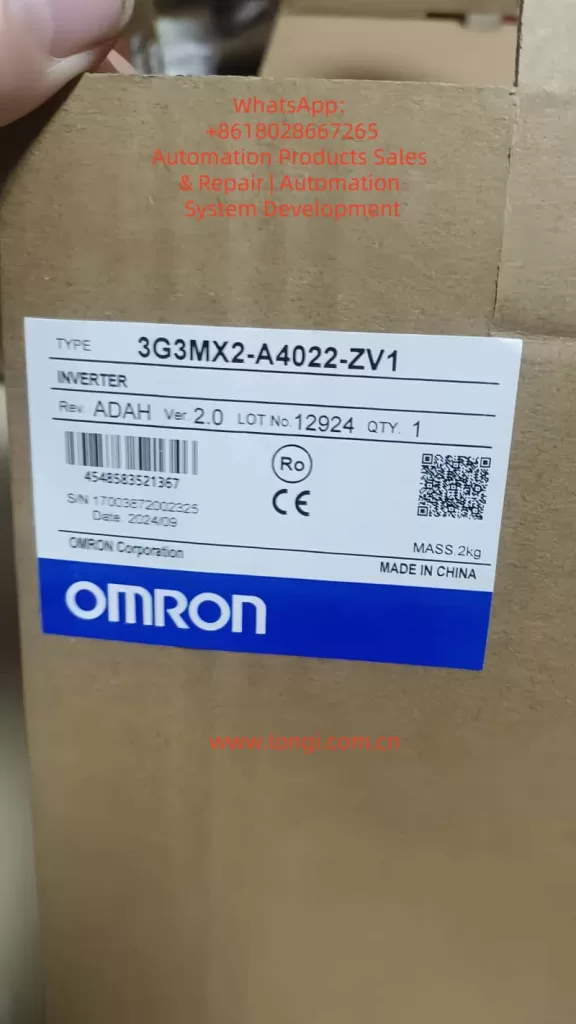
The Omron 3G3MX2 series inverter (model: 3G3MX2-□-V1) is specifically designed for industrial automation applications. It features high-performance vector control, a rich array of I/O interfaces, Modbus communication, and DriveProgramming capabilities. The user manual (I585-CN5-03) provides detailed explanations on installation, wiring, parameter settings, operation methods, fault diagnosis, and maintenance. This article focuses on the operation panel functions, terminal control and external speed regulation, and fault code diagnosis, aiming to help engineers quickly get started and optimize system performance.
Part 1: Introduction to Inverter Operation Panel Functions
Components and Basic Functions of the Operation Panel
- Digital Operator: Standardly integrated into the inverter body; the optional model 3G3AX-OP01 supports remote connection.
- LED Display: Shows real-time data such as frequency, current, and voltage, as well as parameter codes.
- Indicator Lights: Power, alarm, operation, and operation command indicator lights provide a直观 (visual) reflection of equipment status.
- Buttons:
- Up/Down Buttons: Change parameter values or frequencies, and switch between monitoring items.
- Mode Button: Switch between monitoring, basic function, and extended function modes.
- Confirm Button: Save parameters or enter submenus.
- Run Button (RUN): Start the motor (requires the operation command source to be set as the digital operator).
- Stop/Reset Button (STOP/RESET): Stop the motor or reset faults (controlled by parameter b087).
Password Setting and Removal
- Setting a Password:
- Enter the extended function mode and switch to the b group.
- Select b190 (Password A) or b192 (Password B) and enter a 4-digit hexadecimal number (0000 disables the password).
- Save the settings to enable password protection.
- Removing a Password:
- Enter the correct password for verification.
- Set b190 or b192 back to 0000, save, and remove the password.
Parameter Access Restriction Settings
- Software Lock Function (SFT):
- Set one of the multifunction input terminals to “15 (SFT)”.
- Select the lock mode in b031 (00 disables, 01 locks all, 02 allows only frequency changes).
- The lock is enabled when the SFT terminal is ON and disabled when OFF.
Restoring Parameters to Factory Values
- Initialization Steps:
- Enter the b group and set b084 to 04 (clear fault monitoring + initialize data + clear DriveProgramming).
- Set b094 to 00 (all data) or 01 (except communication data).
- Set b180 to 01 and execute initialization.
- Restart the inverter for verification, and remember to back up important parameters.
Part 2: Terminal Forward/Reverse Rotation Control and External Potentiometer Speed Regulation
Terminal Forward/Reverse Rotation Control
- Wiring:
- Connect the multifunction input terminals S1–S7 to FW (forward) and RV (reverse).
- Connect the input common terminal SC to the switch or PLC common terminal.
- Parameter Settings:
- Set A002/A202 to 01 (control circuit terminal block).
- Set C001–C007 to 00 (FW) and 01 (RV).
- Set b035 to 00 (no operation direction restrictions).
External Potentiometer Speed Regulation
- Wiring:
- Connect the potentiometer to FS (power supply), FV (input), and SC (common).
- Parameter Settings:
- Set A001/A201 to 01 (analog input).
- Set A005 to 00 (voltage input).
- Adjust the analog input parameters A011–A016.
Part 3: Inverter Fault Codes and Solutions
Common Fault Codes and Solutions
- E01/E02/E03/E04 (Overcurrent Protection):
- Cause: Sudden load changes on the motor or overly rapid acceleration/deceleration.
- Solution: Increase the acceleration/deceleration time, check for output short circuits/grounding, and reduce torque boost.
- E05 (Overload Protection):
- Cause: Motor overload.
- Solution: Reduce the load and adjust the thermal protection level.
- E07 (Overvoltage Protection):
- Cause: Excessive DC voltage due to regenerative energy.
- Solution: Increase the deceleration time, enable overvoltage suppression, and add a regenerative braking unit.
- E08 (EEPROM Error):
- Cause: Memory errors caused by noise or temperature.
- Solution: Suppress noise and initialize parameters.
Fault Diagnosis Methods
- View Alarm Codes: After power-on, E.xx is displayed; press the up button to view detailed information.
- Analyze Causes: Refer to the code list and check the load, wiring, power supply fluctuations, and parameter settings.
- Corrective Measures: Take appropriate actions based on the cause, such as extending acceleration/deceleration times or adding regenerative units.
- Prevention: Perform regular maintenance, suppress noise, and back up parameters.
- Advanced Diagnosis: Use CX-Drive to connect via USB, read logs, and monitor historical faults.
Conclusion
The Omron 3G3MX2 series inverter manual is an invaluable resource for efficient operation and maintenance. By mastering the operation panel functions, terminal control and external speed regulation, and fault code diagnosis, system reliability can be significantly improved. In practical applications, combine on-site testing with the appendices in the manual to optimize configurations and ensure safe and compliant operations.