
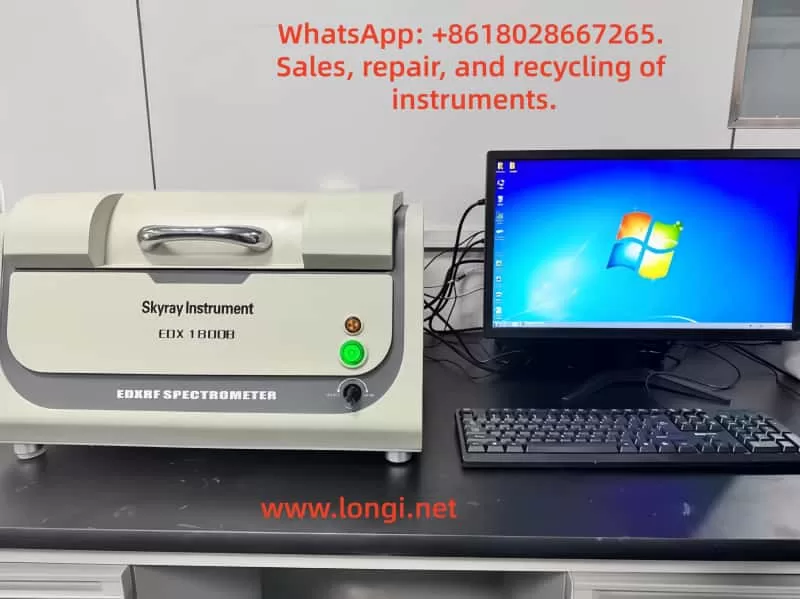
I. In-Depth Product Understanding
Core Features
- High Efficiency and Stability: Equipped with a new-generation high-voltage power supply and X-ray tube with a power of up to 75W, enhancing testing efficiency and reliability.
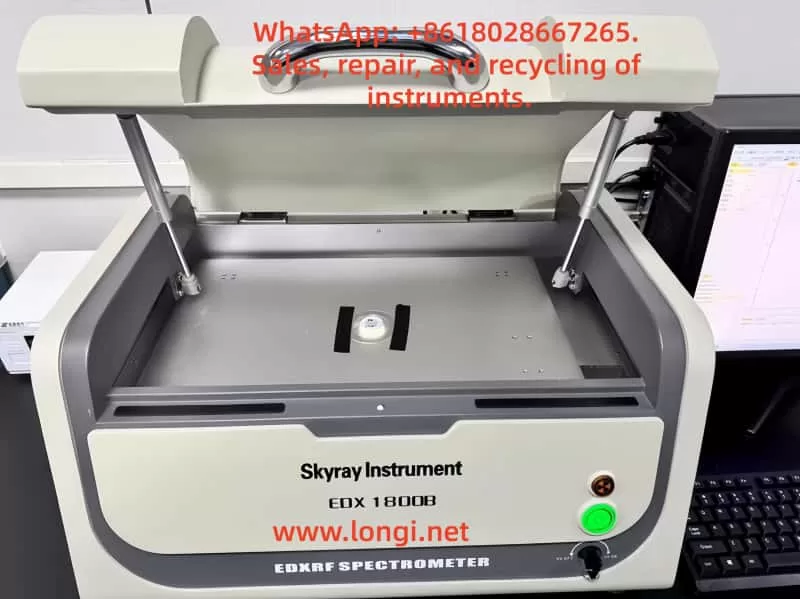
- Flexible Adaptability: Featuring a down-illumination design, it allows for the electric switching of various collimators and filters to accommodate different testing scenarios.
- Precise Positioning: A fine manual moving platform and a high-resolution probe improve analytical accuracy.
- Comprehensive Safety Protection: The X-ray tube is well-shielded, resulting in virtually zero radiation. It is equipped with self-locking and emergency lock mechanisms for all-around protection.
Key Testing Specifications
- Element Range: From sulfur (S) to uranium (U).
- Detection Limit: Reaching as low as 1 ppm, with a content range of 1 ppm to 99.9%.
- Repeatability: Repeatability of 0.1% for multiple measurements and long-term operational stability of 0.1%.
- Environmental Requirements: Temperature range of 15°C to 30°C and a power supply of 220V ± 5V.
Main Application Areas
- ROHS Testing: Accurately detects hazardous elements in electronic and electrical products.
- Precious Metal Testing: Quickly and accurately determines the content of precious metals and jewelry.
- Coating Measurement: Measures the thickness of metal coatings and the content of electroplating solutions and coatings.
- Geological and Mineral Analysis: Performs full-element analysis suitable for mineral exploration.
Unboxing Inspection Points
- Check Items: Verify the presence of the instrument host, mounting plate, and accessory kit (including power cord, USB extension cable, etc.).
- Inspect Appearance: Ensure there are no dents, scratches, and that all accessories are intact and undamaged.
- Prompt Contact: Report any issues to the dealer or manufacturer immediately.
II. Instrument Installation and Debugging
Installation Environment Requirements
- Complete Equipment: Equipped with heating and cooling air conditioners, computers, and printers.
- Suitable Environment: Free from water sources, heat sources, strong electromagnetic interference, flammable materials, and excessive dust accumulation; avoid direct sunlight.
- Reasonable Location: Keep away from extremely humid or low-temperature areas and places prone to vibrations. Maintain a distance of at least 30 cm from walls on all sides.
Installation Precautions
- Avoid Flammable Materials: Do not install near alcohol or paint thinners.
- Stable Installation: Place on a stable and sturdy tabletop or support.
- Minimize Interference: Keep away from strong electromagnetic interference sources, handle with care, and ensure good ventilation.
Instrument Connection Steps
- Power Connection: Connect the power cord between the instrument and the power strip.
- Data Cable Connection: Connect the data cable between the instrument and the computer.
- USB Extension Cable: Connect to the dedicated USB slot for the camera.
Debugging Process
- Power Debugging: Turn on the main power, instrument host power, and computer power in sequence, and check the indicator light status.
- Software Installation and Debugging: Install the RoHS software, copy the “Configure” and “Data” folders, and install Office software.
- Instrument Initialization Debugging: Start the software, enter the password, place the silver calibration sheet, and perform initialization.
III. Complete Instrument Operation Process
Pre-Operation Preparation
- Personnel Preparation: Operators must be trained and wear protective gear.
- Hardware Inspection: Check that all connections are intact and the sample chamber is clean.
- Software Inspection: Start the software and check the interface and functional modules.
Basic Instrument Operations
- Power On: Turn on the main power, instrument host power, and computer power in sequence.
- Sample Placement: Open the sample chamber, place the sample, and close the chamber.
- Sample Removal: Open the sample chamber, remove the sample, and close the chamber.
Detailed Software Operations
- Software Launch: Double-click the software icon or start it from the Start menu.
- Interface Introduction: Menu bar, toolbar, status bar, program bar, report bar, and spectrum display area.
- Parameter Settings: Configure measurement time, preheating, initialization, collimator, etc.
- Sample Testing: Prepare, set the time, select the program, start testing, and view results.
- Result Saving and Printing: Save spectra, import to Excel, and print reports.
- Result Observation: Content display, custom standard setting, and virtual spectrum observation.
Instrument Calibration Operations
- Pre-Calibration Preparation: Warm up the instrument, prepare calibration samples, and set calibration conditions.
- Scan Standard Sample Spectra: Create a new working curve, initialize, and scan sample spectra.
- Edit Working Curve: Set element boundaries, calculate intensities, edit intensity and content values, and observe linearity.
- Re-test Standard Samples: Measure standard samples and adjust the curve.
- Data Backup: Backup the “Configure” and “Data” folders.
Software Uninstallation Operations
- Pre-Uninstallation Preparation: Backup data.
- Uninstallation Steps: Uninstall through the Control Panel or Start menu.
IV. Instrument Maintenance and Care
Daily Maintenance
- Designated User: Assign a specific person for use and storage.
- Keep Clean: Regularly wipe the instrument surface and sample chamber.
- Environmental Cleanliness: Maintain a clean, dry, and well-ventilated work environment.
- Check Connections: Regularly inspect connection cables.
Regular Maintenance
- Preheat Initialization: Preheat for 30 minutes and then initialize each time the instrument is turned on.
- Parameter Testing: Regularly test and adjust instrument parameters.
- Check Cooling: Ensure the fan is functioning properly and cooling vents are unobstructed.
- Long-Term Storage: Cover with a dust cover and turn off the power when not in use for extended periods.
- Protect Detector: Avoid touching or damaging the detector measurement window.
Special Situation Handling
- Liquid Spillage: Immediately turn off the power and contact an authorized service center.
- Collision Impact: Stop using the instrument and inspect it for damage.
- Humid Environment: Take dehumidification measures.
V. Common Fault Analysis and Handling
Hardware Faults
- High-Voltage Indicator Light Not On: Check the power switch and contact for replacement of high-voltage components.
- Unable to Connect Normally: Check data cables and interfaces, and contact for repair.
- Printer Connection Failure: Replace interfaces and data cables, and install drivers.
Software Faults
- Unable to Start Normally: Check installation, system, and connections; reinstall the software.
- Abnormal Test Results: Check sample placement, program selection, working curve, preheating initialization, and external environment.
- Software Error or Freezing: Check computer configuration, reinstall the software, and standardize operations.
Other Faults
- Abnormal Noise or Smoking: Immediately turn off the power and contact for repair.
- Poor Repeatability of Test Results: Ensure sample uniformity, extend measurement time, stabilize preheating, recalibrate the curve, and clean the sample chamber.
VI. Safety Precautions
Installation Safety
- Avoid Flammable Materials: Do not install near flammable items.
- Stable Installation: Place on a stable and sturdy tabletop or support.
- Suitable Environment: Avoid damp, dusty, sunny, high-temperature, or near open flame areas.
Operation Safety
- Correct Power Plugging/Unplugging: Fully insert into sockets, keep away from heat sources, and hold the plug to unplug.
- Prohibited Operations: Do not disassemble or modify the instrument, damage power cords, or use non-compliant voltages.
- Voltage Stabilization: Use a voltage stabilizer to ensure stable voltage.
- Abnormal Handling: Immediately turn off the power upon detecting abnormalities.
- Protective Gear: Operators must wear protective gear; keep children and pregnant women away.
Environmental Safety
- Compliance Requirements: Ensure the work environment meets temperature, humidity, air pressure, and power supply adaptability requirements.
- Avoid Interference: Avoid strong electromagnetic interference during operation.
- Good Ventilation: Maintain good ventilation in the work environment.
VII. Warranty Terms Explanation
- Warranty Period: Free warranty for 12 months from the date of purchase.
- Warranty Coverage: Only applies to the original consumer purchaser and is valid only in the country (or region) where the product was intentionally sold.
- Warranty Service: Repair or replace defective products or parts free of charge; no charge for replaced parts, circuit boards, or equipment.
- Post-Repair Warranty: Repaired products continue to enjoy warranty service for the remaining period of the original warranty.
- Proof of Purchase: Consumers must provide purchase receipts or other proof.
- Non-Warranty Situations: Non-normal use, improper storage, unauthorized modifications, etc.
- Warranty Handling: Contact the purchase location or authorized service center; charges apply after the warranty period.
The Tianrui X-Ray Fluorescence Spectrometer EDX1800 is powerful and stable in performance. Users must strictly adhere to operational norms and maintenance requirements to ensure long-term stable operation of the instrument and obtain accurate and reliable test results. For difficult issues, it is recommended to consult the manual or contact an authorized service center for professional support.