
Chapter 1: Product Overview and Technical Specifications
1.1 Introduction to HQ30D Series Products
The Hash HQ30D series dissolved oxygen meters are high-performance portable instruments developed by Hash Company. Utilizing advanced polarographic sensor technology, these meters are widely applied in environmental monitoring, wastewater treatment, aquaculture, and scientific research. Renowned for their high precision, stability, and portability, the HQ30D series meets the dissolved oxygen measurement needs in various complex environments. The series includes multiple models, allowing users to select the most suitable one based on their requirements. All models employ the same core measurement technology, ensuring consistent and reliable results.
1.2 Key Technical Specifications
Measurement Performance Indicators:
- Measurement Range: 0–20 mg/L (ppm) or 0–200% saturation
- Resolution: 0.01 mg/L or 0.1% saturation
- Accuracy: ±0.1 mg/L or ±1.5% of the reading (whichever is greater)
- Response Time: <30 seconds to reach 90% of the final value (at 25°C water sample)
Environmental Adaptability:
- Operating Temperature Range: 0–50°C
- Storage Temperature Range: -20–60°C
- Protection Class: IP67 (fully dustproof and waterproof for short-term immersion)
- Power Supply: 6-12V DC adapter or 4 AA alkaline batteries
- Battery Life: Approximately 40 hours of continuous use (with new batteries)
Physical Characteristics:
- Host Dimensions: 215 × 87 × 42 mm
- Weight: Approximately 520 g (including batteries)
- Display: 4-digit LCD with backlight
Chapter 2: Instrument Components and Installation
2.1 Standard Accessories List
Standard Configuration:
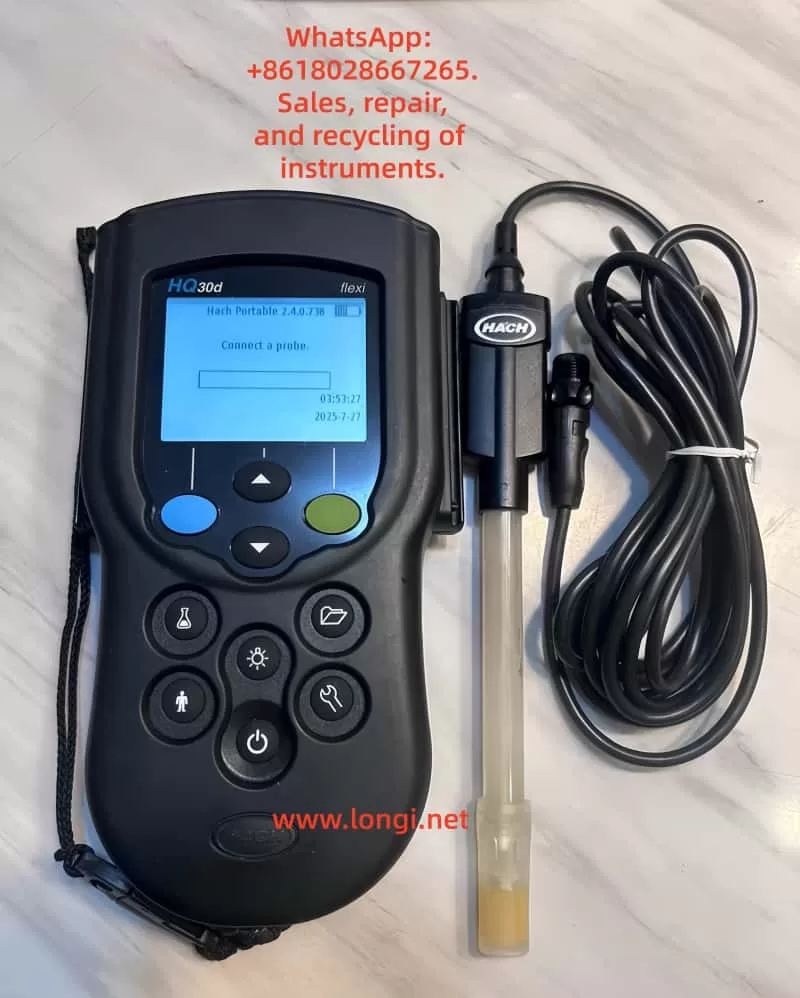
- HQ30D host unit (1)
- LDO101 dissolved oxygen electrode (1)
- Power adapter (input: 100-240V AC, output: 6-12V DC)
- 4 AA alkaline batteries (pre-installed)
- Portable carrying case (1)
- User manual and certificate of conformity (1 each)
Optional Accessories:
- Spare electrode membrane kit (including electrolyte)
- BOD measurement kit
- Dissolved oxygen standard calibration solution set
- Data cable and printing accessories
2.2 Instrument Assembly Steps
Battery Installation Procedure:
- Place the instrument upside down on a stable surface.
- Locate the battery compartment cover at the bottom and slide to unlock.
- Insert 4 AA batteries according to the polarity markings inside the compartment.
- Ensure proper battery contact and close the compartment cover.
Electrode Connection Method:
- Remove the electrode protective cap.
- Insert the electrode into the dedicated interface on the top of the host unit.
- Rotate the locking ring clockwise until securely fastened.
- Check the connection for stability and ensure no loosening.
Initial Use Preparation:
- Activate the new electrode by soaking it in clean water for 2-4 hours.
- Perform a complete calibration procedure before the first use.
- Check the connections of all components for firmness.
Chapter 3: Basic Operation and Calibration
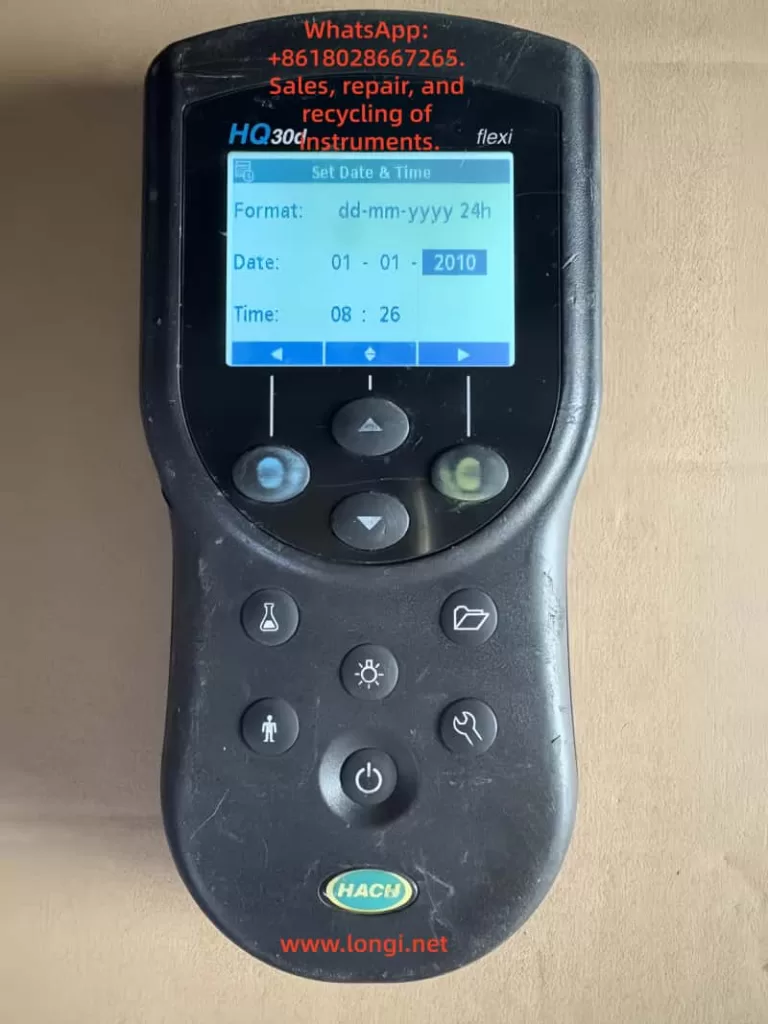
3.1 Power-On and Interface Navigation
Power-On Procedure:
- Press and hold the power button for 2 seconds to start the instrument.
- After system self-check, the main interface will be displayed.
- The default display shows the dissolved oxygen concentration (mg/L).
Interface Functional Areas:
- Main Display Area: Real-time measurement value
- Status Indicator Area: Battery level, calibration status, and other icons
- Unit Display: Current measurement unit (mg/L or %)
Basic Button Functions:
- Power Button: Power on/off and backlight activation
- Mode Button: Switch between display modes
- Calibration Button: Enter calibration program
- Setting Button: Parameter configuration menu
- Up/Down Buttons: Numerical adjustment and menu navigation
3.2 Zero Calibration Procedure
Preparation:
- Prepare a zero-oxygen solution (0.25 g anhydrous sodium sulfite dissolved in 250 mL distilled water).
- Ensure the electrode is clean and free from contamination.
- Power on the instrument and allow it to warm up for 5 minutes.
Calibration Steps:
- Immerse the electrode in the zero-oxygen solution.
- Press the calibration button to enter the calibration menu.
- Select “Zero Calibration.”
- Wait for the reading to stabilize (approximately 3-5 minutes).
- Confirm that the calibration value displays 0.00 mg/L.
- Press the confirm button to complete the zero calibration.
3.3 Full-Scale Calibration Procedure
Preparation:
- Prepare a saturated dissolved oxygen water sample (vigorously shake for 5 minutes) or use a dedicated saturated oxygen standard solution.
- Ensure the water sample temperature is stable at 20-25°C.
Calibration Steps:
- Immerse the electrode in the saturated oxygen water sample.
- Press the calibration button to enter the calibration menu.
- Select “100% Calibration.”
- Gently stir the electrode to ensure water sample flow.
- Wait for the reading to stabilize (display shows “Stabilizing…”).
- Confirm that the reading is close to the theoretical saturation value.
- Press the confirm button to complete the full-scale calibration.
Chapter 4: Measurement Operation and Data Processing
4.1 Standard Measurement Procedure
Standard Measurement Steps:
- Immerse the electrode in the water sample to be tested.
- Ensure the electrode is in full contact with the water sample.
- Gently stir the electrode (approximately 2-3 times per second).
- Wait for the reading to stabilize (approximately 30-60 seconds).
- Record the measurement result.
Precautions:
- Avoid vigorous stirring to prevent bubble formation.
- Keep the electrode membrane surface clean.
- Recommend measuring at a depth of 5-10 cm below the water surface.
- Avoid direct sunlight exposure to the measurement area.
4.2 Data Recording and Storage
Manual Data Recording:
- After the measurement value stabilizes, press the storage button.
- Enter the sample number (optional).
- The measurement time and value will be automatically recorded.
- Add remarks (such as sampling location) if necessary.
Automatic Storage Function:
- Set up timed automatic storage.
- Storage interval adjustable from 1-60 minutes.
- Maximum storage capacity of 500 data sets.
Data Query Method:
- Press the menu button to enter data management.
- Select “Data Review.”
- Search for records by date or number.
- View detailed measurement information.
4.3 Data Export and Printing
Computer Connection:
- Connect the instrument to a PC using a dedicated data cable.
- Install Hash data management software.
- Set communication parameters (9600 baud rate).
- Export data in Excel or text format.
Printing Output:
- Connect a compatible micro-printer.
- Select the data to be printed.
- Print single measurements or batch data.
- Printed content includes measurement values, time, and other information.
Chapter 5: Advanced Function Applications
5.1 BOD Measurement Mode
BOD5 Measurement Preparation:
- Prepare a 300 mL BOD incubation bottle.
- Collect representative water samples.
- Dilute as necessary.
Measurement Steps:
- Measure the initial DO value (D1) of the sample.
- Seal the incubation bottle and place it in a 20 ± 1°C environment.
- After 5 days, measure the final DO value (D2).
- Calculate BOD5 = D1 – D2 (considering dilution factor).
Precautions:
- Use a dedicated BOD bottle cap to ensure sealing.
- Avoid light exposure during incubation.
- Verify high BOD samples through multiple dilutions.
5.2 Salinity and Barometric Pressure Compensation
Salinity Compensation Setting:
- Press the setting button to enter the parameter menu.
- Select “Salinity Compensation.”
- Enter the actual salinity value of the water sample (0-40 ppt).
- Confirm to automatically apply the compensation algorithm.
Barometric Pressure Compensation Setting:
- Enter the setting menu and select “Barometric.”
- Manually enter the local barometric pressure value or select “Auto” to use the built-in sensor.
- Confirm to automatically adjust saturation calculations.
Temperature Compensation:
- Automatically compensates based on the built-in temperature sensor.
- Ensure the temperature probe is clean and free from contamination.
- Check the temperature sensor if abnormal temperature readings are displayed.
Chapter 6: Maintenance and Troubleshooting
6.1 Daily Maintenance Points
Electrode Maintenance:
- Replace the electrolyte and membrane kit monthly.
- Clean the electrode surface after use.
- Keep the electrode moist during short-term storage.
- Store dry during long-term storage.
Instrument Cleaning:
- Regularly wipe the exterior with a damp cloth.
- Avoid using organic solvents.
- Keep the interface dry and clean.
- Check the battery compartment for corrosion.
Calibration Recommendations:
- Check the zero point before daily use.
- Perform full-scale calibration weekly.
- Recalibrate after replacing the electrolyte.
- Calibrate before use after long-term storage.
6.2 Common Fault Handling
Display Issues:
- No display: Check battery/power connections.
- Blurry display: Replace batteries or adjust contrast.
- Backlight not illuminated: Check settings or battery level.
Measurement Abnormalities:
- Unstable readings: Clean the electrode and check connections.
- Slow response: Replace the electrolyte and membrane.
- Calibration failure: Check calibration solution and confirm electrode status.
Error Codes:
- Err 1: Sensor failure, check the electrode.
- Err 2: Out of range, dilute the sample.
- Err 3: Calibration error, recalibrate.
- Err 4: Temperature sensor abnormality.
Chapter 7: Safety Regulations and Technical Support
7.1 Safety Operation Regulations
Electrical Safety:
- Use only the original power adapter.
- Do not use Ni-Cd rechargeable batteries.
- Avoid charging in humid environments.
Chemical Safety:
- Wear protective equipment when handling chemical reagents.
- Rinse immediately if electrolyte contacts the skin.
- Dispose of waste chemicals according to regulations.
Operational Safety:
- Do not immerse the instrument in deep water.
- Avoid strong vibrations or drops.
- Avoid prolonged use in high-temperature environments.
7.2 Service and Support
Warranty Policy:
- Host unit warranty period: 12 months.
- Electrode warranty period: 6 months.
- Damage caused by human factors is not covered by the warranty.
Repair Services:
- Authorized repair centers nationwide provide services.
- Provide the product serial number for repairs.
- Non-professionals should not disassemble the instrument.
Chapter 8: Practical Application Tips
8.1 Methods to Improve Measurement Accuracy
Sample Handling Techniques:
- Allow the sample to stand for 2-3 minutes before measurement.
- Maintain stable sample temperature.
- Avoid gas exchange during sample transfer.
Electrode Usage Techniques:
- Regularly polish the electrode surface.
- Keep the membrane moist during storage.
- Avoid scratching the membrane surface.
Environmental Control Points:
- Avoid strong electromagnetic interference sources.
- Maintain stable temperature in the measurement environment.
- Accurately set compensation for high-salinity samples.
8.2 Handling Special Application Scenarios
Low Dissolved Oxygen Measurement:
- Use fresh zero-oxygen solution for calibration.
- Extend the stabilization time.
- Use a flow measurement cell to reduce interference.
High-Salinity Water Samples:
- Accurately measure and input the salinity value.
- Consider using a high-salinity dedicated electrode.
- Increase calibration frequency.
Flowing Water Body Measurement:
- Use a flow adapter to fix the electrode.
- Select representative measurement positions.
- Avoid turbulence and bubble interference.
Conclusion
The Hash HQ30D series dissolved oxygen meters are comprehensive and user-friendly professional water quality analysis instruments. Through the systematic introduction in this guide, users should be able to master the various functions and maintenance points of the instrument proficiently. Correct usage methods and regular maintenance not only ensure the accuracy of measurement data but also extend the instrument’s service life.
As a key indicator in water quality monitoring, accurate dissolved oxygen measurement is crucial for water environment management. We hope this guide helps users fully leverage the performance advantages of the HQ30D dissolved oxygen meters, providing reliable technical support for water quality monitoring work. For further technical assistance, please feel free to contact Hash Company’s professional service team at any time.