
1. Principles, Functions, and Applications of MyGo Pro PCR Instrument
Principles
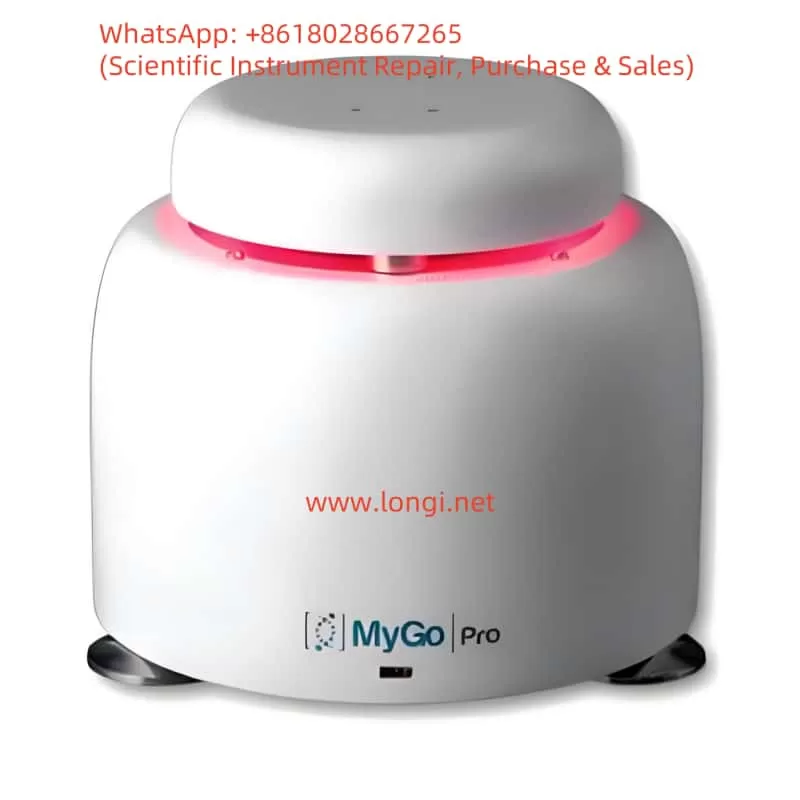
The MyGo Pro is a real-time quantitative PCR (qPCR) instrument based on the polymerase chain reaction (PCR) technology, enabling DNA or RNA amplification through thermal cycling. Its core technology is “Full Spectrum Optics,” which utilizes high-intensity LEDs (500 nm excitation) and a CMOS camera (510-750 nm detection) to collect fluorescence data from 120 optical channels in parallel from each reaction tube without moving parts, ensuring the reliability of multiplex PCR. Additionally, the MyGo Pro supports high-resolution melt (HRM) curve analysis, capable of distinguishing all types of single nucleotide polymorphisms (SNPs), including Class 4 SNPs.
Functions
The MyGo Pro offers the following key functions:
- High Precision and Sensitivity: Single-copy detection, 9-log dynamic range, and 1.1-fold discrimination precision.
- Multiplex PCR: Supports simultaneous analysis of at least 7 targets, each using a different fluorescent label.
- Fast Thermal Cycling: Heating speed of 5°C/second, cooling speed of 4°C/second, with 45 cycles completed in approximately 33 minutes and total run time less than 40 minutes.
- HRM Analysis: Efficiently distinguishes genetic variations by combining thermal control, optical data quality, and HRM data analysis.
- Automated Analysis: Software supports absolute and relative quantification, melt curve analysis, endpoint genotyping, and HRM.
Technical Specifications
- Thermal Uniformity: ±0.1°C
- Thermal Accuracy: ±0.25°C
- Temperature Range: 37-99°C
- Optical Channels: 4 (for multiplexing), supporting 22 pre-calibrated dyes including SYBR Green I, FAM, ROX, etc.
- Supported Detection Formats: TaqMan, Molecular Beacons, SimpleProbes®, Intercalators, HRM
The following table summarizes the main functions:
| Function Category | Details |
|---|---|
| Detection Sensitivity | Single-copy detection, 9-log dynamic range, 1.1-fold discrimination precision |
| Thermal Cycling Speed | Heating 5°C/second, cooling 4°C/second, 45 cycles in ~33 minutes |
| Optical System | 120 optical channels, 510-750 nm detection, CMOS camera |
| Supported Dyes | SYBR Green I, FAM, ROX, etc. (22 types) |
| Analysis Modules | Absolute/relative quantification, melt curve, HRM, etc. |
Applications
The MyGo Pro is widely used in:
- Gene Expression Analysis: Detects 10% differences in transcript concentrations.
- Pathogen Detection: Quantifies pathogen levels.
- Genetic Variation Analysis: Identifies SNPs through HRM.
- Laboratory Research: Suitable for life sciences, food species identification, virus detection, etc.
- High-Throughput Applications: A single computer can control 200 MyGo Pro or 400 MyGo Mini instruments.
2. Installation and Setup Process for MyGo Pro PCR Instrument
Installation Steps
- Check Components:
- Verify that the package includes: MyGo Pro qPCR system, user manual, power adapter and cables, Ethernet cable, USB drive.
- Check for any damage or missing parts.
- Connect Power:
- Use a 24V DC power adapter with a 3-pin IEC connector.
- The instrument has no power switch; an optional switchable cable can be purchased.
- Choose Connection Method:
- USB: Use a MyGo-branded USB drive containing software and manuals. Third-party USBs must pass a software speed test.
- Ethernet: Connect to a LAN or directly to a computer.
- Software Installation:
- Download the MyGo software from the USB drive or online.
- Compatible with Windows, Mac OS X, and Linux; no license restrictions.
- Environment Setup:
- Place the instrument on a stable, dry laboratory bench, away from drafts.
- Ensure ventilation ports are clear and not covered.
- The heated lid reaches 105°C during experiments; do not touch after use.
Setup Notes
- Ventilation: Do not place items or liquids on the heated lid to avoid performance issues.
- Environmental Conditions: Refer to the user manual for operating, transport, and storage conditions.
- Transport: Use a flight case or original packaging with polystyrene rings to protect the wells.
The following table summarizes the installation steps:
| Step | Details |
|---|---|
| Check Components | Verify instrument, power adapter, cables, USB drive, etc. |
| Connect Power | Use 24V DC power, 3-pin IEC connector |
| Connection Method | USB or Ethernet; USB must pass speed test |
| Software Installation | Download online, compatible with multiple platforms |
| Environment Setup | Stable bench, away from drafts, ensure ventilation |
3. Connection and Experimental Operation Methods for MyGo Pro PCR Instrument
Connection Methods
- USB Connection:
- Insert a MyGo-branded USB drive containing experimental files.
- Use a USB extension cable (for MyGo Mini).
- Ethernet Connection:
- Connect using an Ethernet cable to a LAN or computer.
- Ensure network settings are correct to avoid data loss.
Experimental Operation Steps
- Prepare Samples:
- Use 0.1 ml tubes or 8-tube strips, with a maximum of 32 samples and reaction volumes of 10-100 μl.
- When running a single 8-tube strip, load empty strips in rows 1 and 4.
- Set Up Experiment:
- Create a template in the MyGo software: Click “Open” and select the “Template” file type.
- Set up sample and target information; modifications can be made during the experiment.
- Configure thermal cycling parameters (e.g., hold times, cycle numbers).
- Start Experiment:
- Initiate via USB or LAN; settings cannot be changed once the experiment starts.
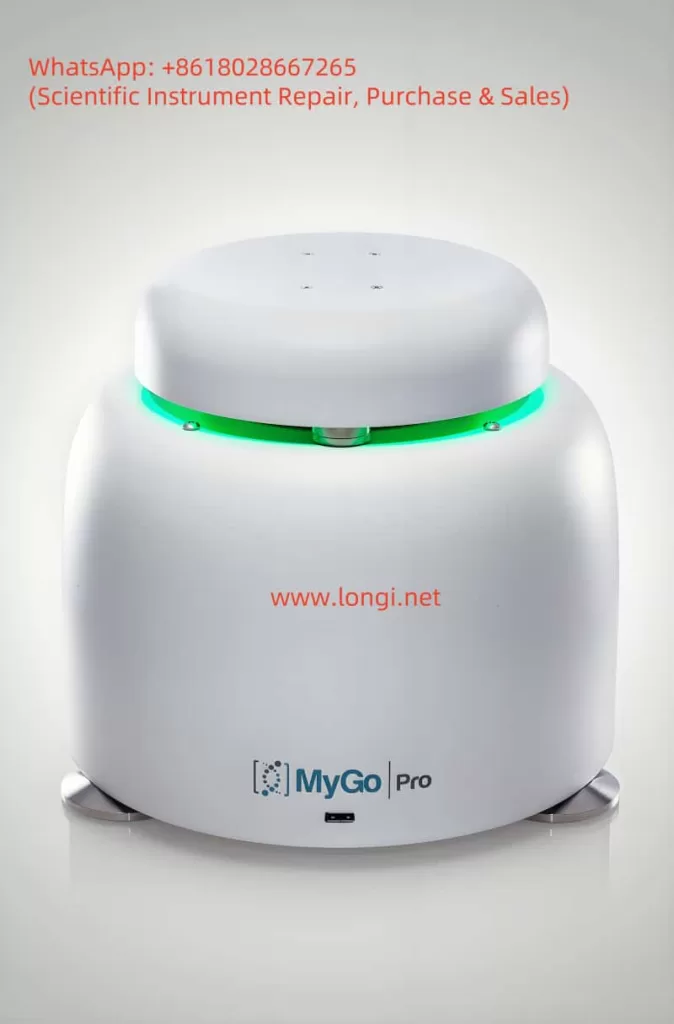
- The lid automatically locks and unlocks after the experiment (indicated by cyan color).
- Monitor Experiment:
- The software displays real-time temperature and fluorescence data.
- Background correction: Automatically performed after 6 cycles (based on the average of cycles 4, 5, and 6).
- Save Data:
- Save to PC or USB drive; ensure stable network for LAN connections.
Notes
- Consumables: Use airtight, optically transparent consumables.
- Dyes: Pre-calibrated for 22 dyes (e.g., FAM, ROX); generate dye files for non-pre-calibrated dyes.
- Data Management: Use a USB drive to reduce data loss due to network instability.
The following table summarizes the experimental operation steps:
| Step | Details |
|---|---|
| Sample Preparation | 0.1 ml tubes or 8-tube strips, 10-100 μl reaction volumes |
| Experiment Setup | Create template, set sample and target info, configure thermal cycling |
| Start Experiment | Initiate via USB or LAN; lid automatically locks |
| Data Monitoring | View real-time temperature and fluorescence data, automatic background correction |
| Data Saving | Save to PC or USB; ensure stable network for LAN |
4. Tips and Tricks for Using MyGo Pro PCR Instrument
Tips
- Consumable Selection:
- Use MyGo-recommended consumables to ensure sealing and heat transfer efficiency.
- Third-party consumables must be airtight, optically transparent, biocompatible, and DNA/RNA enzyme-free.
- Sample Handling:
- Ensure tube caps are properly sealed to prevent leakage.
- Wear gloves during operation and immediately dispose of used PCR tubes after the experiment to prevent contamination.
- Experiment Optimization:
- Use non-fluorescent quenchers (e.g., BHQ) for optimal fluorescence signals.
- Add fluorescent quenchers (e.g., TAMRA) to sample settings to enable spectral deconvolution.
- Software Usage:
- Use templates to quickly start experiments.
- Regularly check for software updates.
Maintenance Suggestions
- Cleaning:
- Refer to the decontamination guide if the instrument is dirty or contaminated.
- Ensure the instrument is clean before sending it for repair.
- Calibration:
- No regular optical or thermal calibration is required; contact technical support if damaged.
- Transport:
- Minimize movement; use polystyrene rings to protect the wells and a flight case or original packaging.
The following table summarizes the tips:
| Category | Tips |
|---|---|
| Consumable Selection | Use MyGo-recommended consumables; ensure sealing and optical transparency |
| Sample Handling | Seal tube caps, wear gloves, dispose of used PCR tubes immediately |
| Experiment Optimization | Use non-fluorescent quenchers, add fluorescent quenchers to sample settings |
| Maintenance | Regularly clean, no regular calibration needed, transport safely |
5. Common Troubleshooting Methods for MyGo Pro PCR Instrument
Common Problems and Solutions
- Instrument Does Not Power On:
- Check if the power cable is securely connected to the instrument and outlet.
- Experiment Fails to Start:
- Ensure tubes are properly loaded and the MyGo Mini lid is securely closed.
- Check network settings (for LAN operation).
- Network Connection Fails:
- Ensure the Ethernet cable clicks into place when inserted and is not loose when gently pulled.
- Experiment Fails to Complete:
- Do not close the software or disconnect the network during LAN operation.
- USB Operation Issues:
- Ensure the USB drive is securely connected and contains experimental files.
- Do not remove the USB before the experiment completes (MyGo Pro indicates cyan color).
- Instrument Flashes Red:
- Power on the instrument; if it continues to flash, contact technical support.
Other Notes
- Data Loss: Use a USB drive if the LAN is unstable.
- Contamination: Refer to the decontamination guide to clean the instrument.
The following table summarizes the troubleshooting methods:
| Problem | Solution |
|---|---|
| Instrument Does Not Power On | Check power cable connection |
| Experiment Fails to Start | Confirm tube loading, check network settings |
| Network Connection Fails | Ensure Ethernet cable is securely connected |
| USB Operation Issues | Confirm USB drive connection, do not remove prematurely |
| Flashing Red | Power on; if persistent, contact technical support |
Summary
The MyGo Pro PCR instrument is an efficient and reliable qPCR system suitable for various molecular biology applications. Its Full Spectrum Optics and fast thermal cycling technology ensure high precision and multiplex analysis capabilities. Installation and setup are straightforward, and experimental operations are completed through user-friendly software. Following usage tips and maintenance suggestions ensures optimal performance, and common issues can be resolved by checking connections and settings.