
1. Project Overview
This project aims to build a control network without using a PLC by directly connecting 9 Schneider Altivar-310 series variable frequency drives (VFDs) to a human-machine interface (HMI) through the Modbus TCP protocol. The HMI serves as the sole Modbus master, and all VFDs function as slave devices, enabling direct command transmission, status monitoring, and parameter interaction.
This architecture is especially suitable for small to medium automation systems, reducing hardware costs, simplifying the control structure, and improving debugging efficiency.
2. Hardware Checklist
| Item | Function | Notes |
|---|---|---|
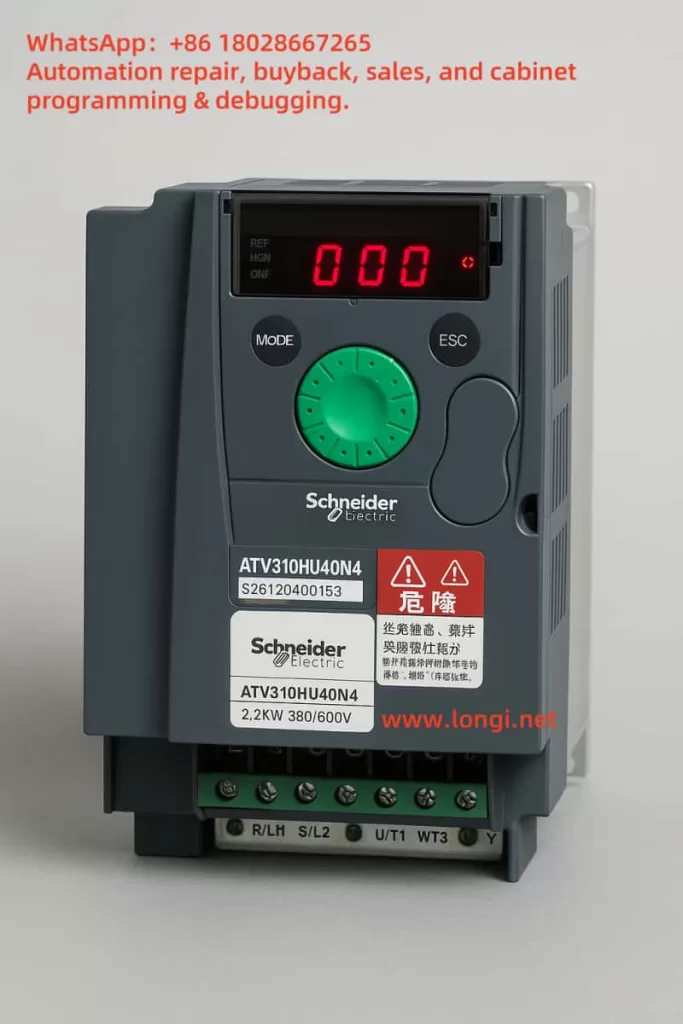
| Altivar 310 + VW3A3616 module × 9 | Ethernet interface for each VFD | Install securely into the communication option slot |
| Industrial Ethernet switch (≥10 ports, 100 Mbps is fine) | Star topology backbone | DIN-rail mount, industrial-grade recommended |
| Shielded CAT5E/6 Ethernet cables | Noise-resistant communication | Keep under 100 meters; ground shield at one end |
| HMI panel supporting Modbus TCP | Acts as the master device | Weintek, Schneider Magelis, and similar brands recommended |
| 24V DC power supply (if required by HMI) | Auxiliary power source | All devices should share the same PE grounding system |
3. Recommended IP and Modbus Address Allocation
| VFD No. | Static IP | Subnet Mask | Modbus Slave ID |
|---|---|---|---|
| 1 | 192.168.0.11 | 255.255.255.0 | 1 |
| 2 | 192.168.0.12 | 255.255.255.0 | 2 |
| … | … | … | … |
| 9 | 192.168.0.19 | 255.255.255.0 | 9 |
Tip: Assign the HMI an address like
192.168.0.10. If used in an isolated system, the gateway can be set to0.0.0.0.
4. Configuring IP Address for Each VFD Using SoMove
- Connect the PC to the VFD via Ethernet cable and set the PC’s IP address to the same subnet (e.g.,
192.168.0.100). - Launch the SoMove software, select Modbus TCP as the communication type, and enter the target VFD’s IP address (default or temporary), with Modbus slave address set to 1.
- In the Communication → Ethernet menu:
- Set IP Mode to Manual
- Enter a unique static IP for each VFD (e.g.,
192.168.0.15) - Set subnet mask to
255.255.255.0 - Set gateway to
0.0.0.0or as required by your network - Set protocol to Modbus TCP (value = 0)
- Set Modbus slave address from 1 to 9
- Save the parameters and reboot the VFD to apply the new IP.
- Repeat this process for all 9 drives, assigning unique IPs and Modbus IDs.

5. HMI Modbus Register Mapping Example
| Function | Register Address (Offset) | Data Type | Scaling |
|---|---|---|---|
| Command word (Run/Stop, Direction) | 0 | 16-bit | Bit-level |
| Frequency setpoint (Hz) | 1 | 16-bit | 0.1 Hz per bit |
| Output frequency feedback | 102 | 16-bit | 0.1 Hz per bit |
| Drive status word | 128 | 16-bit | Bit-level |
| Fault code | 129 | 16-bit | Integer |
Note: The ATV310’s Modbus register map starts at 40001. Some HMI brands use “offset 0”, so register 1 corresponds to 40001.
6. Network Topology and Installation Practices
- Star Topology: Connect all 9 VFDs and the HMI to a central switch.
- EMC Wiring Practices:
- Separate power and Ethernet cable routing to minimize interference
- Bond all VFDs and the switch ground terminals to the control cabinet’s PE bar
- Labeling and Documentation:
- Clearly label each Ethernet cable with corresponding VFD number and IP
- Place a printed network topology diagram inside the control cabinet
7. Commissioning Procedure
- Ping Test: Use a PC to ping each VFD’s IP address to verify communication.
- HMI Communication Test:
- Create a template screen for one VFD
- Copy it for other VFDs, changing only the IP and Modbus ID
- Test frequency control, start/stop, and feedback display for each unit
- Stress Test: Run rapid start/stop cycles and observe response consistency and screen refresh speed (<200 ms is ideal).
- Project Backup: Save each VFD’s
.stmfile from SoMove and the full HMI project into a version-controlled system.
8. Performance & Limitations
| Aspect | Details |
|---|---|
| Max refresh speed | Reading 10 registers per drive takes ~20–40 ms; 9 drives ≈ 200–400 ms total |
| Real-time behavior | Suitable for monitoring and basic control; not ideal for high-speed interlocks (<20 ms) |
| Redundancy | A single switch failure disconnects all; consider dual-ring switches for critical uptime |
| Security | Use VLANs or restrict switch ports to specific MACs to prevent unauthorized connections |
9. Maintenance and Optimization Tips
- Always backup SoMove configuration files after parameter changes
- Stick Modbus slave ID labels onto each VFD’s front panel
- Lock HMI screens with password protection to prevent accidental changes
- Annually inspect Ethernet switch ports; replace the unit if CRC errors or dust buildup is found
10. Conclusion
By installing VW3A3616 modules and configuring individual IP addresses and Modbus IDs for each ATV310, a clean star-topology network can be built for direct HMI communication. This setup simplifies wiring, eliminates the need for a PLC, and significantly reduces costs. It is particularly suitable for small to medium-sized automation projects that require easy maintenance and flexible deployment.